Professional Automotive Repair in Marietta and Midtown Atlanta
|
Meet Phillip Reeves - Our Marietta Shop Manager
|
Meet Lance Jessee - Our Midtown Atlanta Manager
|
Serving Your Car Maintenance Needs With Excellence for 30 Years
|
|
|
|

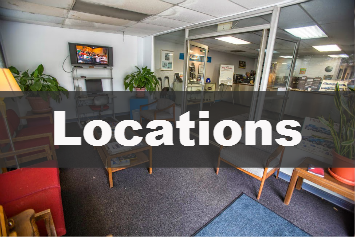
Marietta / East Cobb
|
Subscribe to our YouTube channels to make
sure you get our latest videos! |

Atlanta/Midtown
|

Professional Automotive Repair is proud to be one of Atlanta's Three Best Rated! Doesn't that tell you all you need to know about us?
|
Three Best Rated was created with a simple goal to find you the top three local businesses per category in your city. Their employees Handpick Top 3 local businesses per category in your city. They check business's reviews, history, complaints, ratings, satisfaction, trust, cost and their general excellence. They display only businesses that are verified by their employees. You can call it "Due Diligence." or "Common Sense." We call it "Hard Work." Their website is updated on a regular basis for quality and latest business information.
|
|
|
